How to Add FloatMessage to a Custom HTML Site
If you're building your own website with HTML, a static site generator, or any framework - adding FloatMessage takes one line of code. This guide covers the simplest possible setup.
Sign up and create your first message
Go to floatmessage.com/login and sign in with Google. You'll get a 30-day free trial with full access - no credit card required.
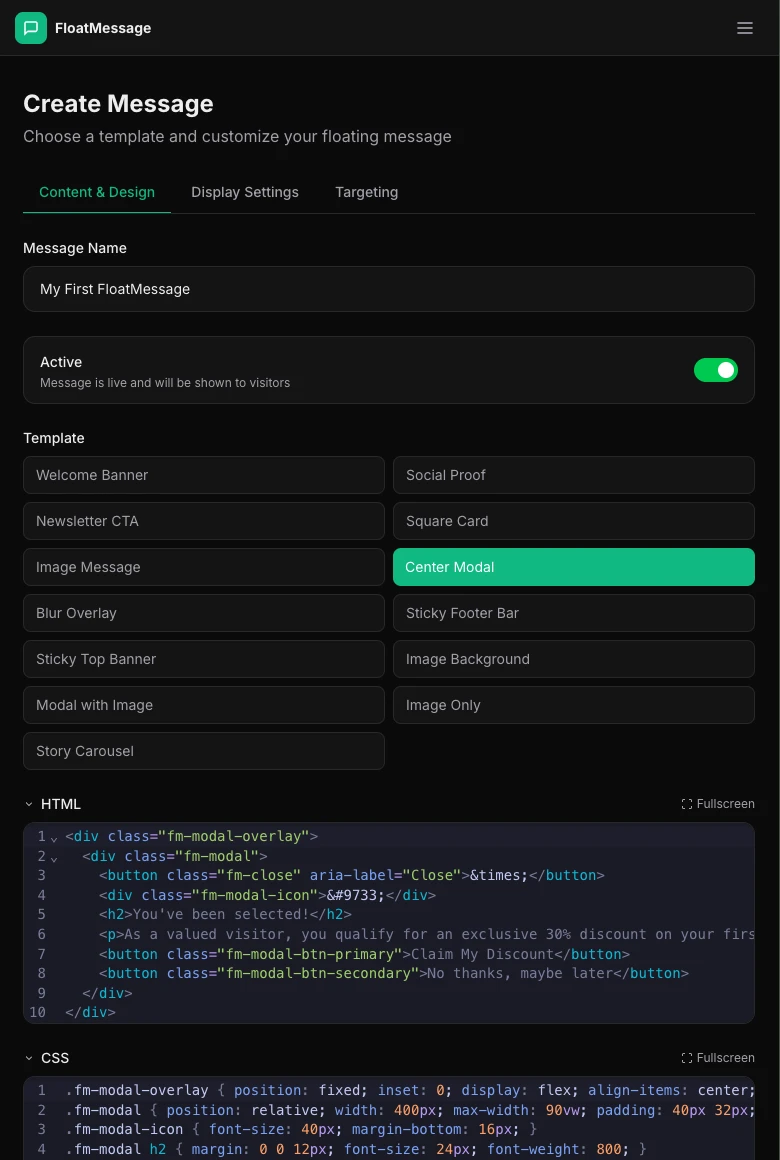
In the dashboard, click Messages in the sidebar, then New Message. Pick a template, customize it, and save.
Copy your embed code
Go back to your Dashboard home page and copy the embed snippet shown there.
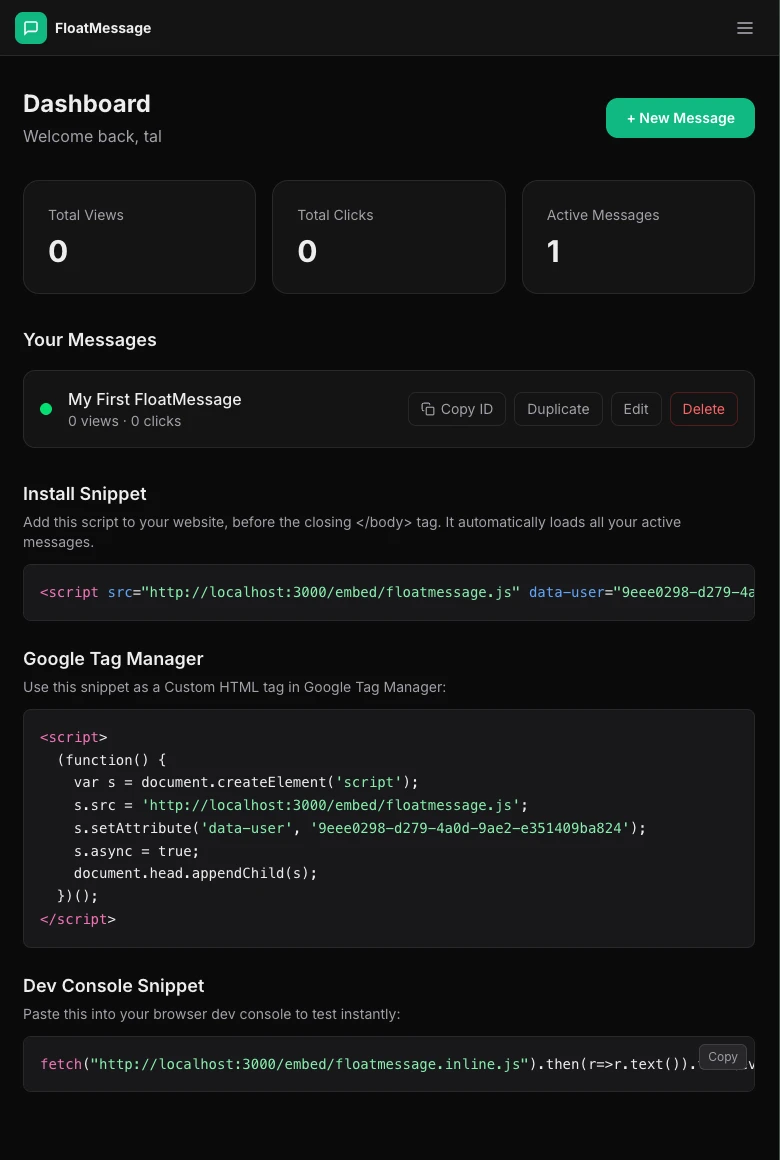
Paste the script before the closing body tag
Open your HTML file and paste the snippet just before the closing </body> tag:
<!DOCTYPE html>
<html lang="en">
<head>
    <meta charset="UTF-8">
    <title>My Website</title>
</head>
<body>
    <h1>Welcome to my site</h1>

    <!-- FloatMessage -->
    <script src="https://floatmessage.com/embed/floatmessage.js?userId=YOUR_USER_ID" defer></script>
</body>
</html>
That's it - one line of code and FloatMessage is running on your site.
defer attribute ensures the script loads without blocking your page. Your site's performance won't be affected.Add the embed script
Add your account ID via the ?userId= query parameter. The script will automatically load every active floating message and the live chat widget for your account - you don't need to manage individual message IDs. Already installed with data-user? Still works.
<script src="https://floatmessage.com/embed/floatmessage.js?userId=YOUR_USER_ID" defer></script>Open your site and verify
Open your HTML page in a browser. Your floating message should appear based on the trigger you configured (immediately, on scroll, after a delay, or on exit intent).