Use Exit-Intent Messages to Reduce Bounce Rate
Exit-intent messages appear when a visitor is about to leave your site — detected by their mouse moving toward the browser's close button or address bar. This is your last chance to capture their attention with a compelling offer or message. Here's how to set one up.
Create a new message
In your FloatMessage dashboard, click New Message. Choose a template - Modal or Banner work best for exit-intent messages since they demand attention.

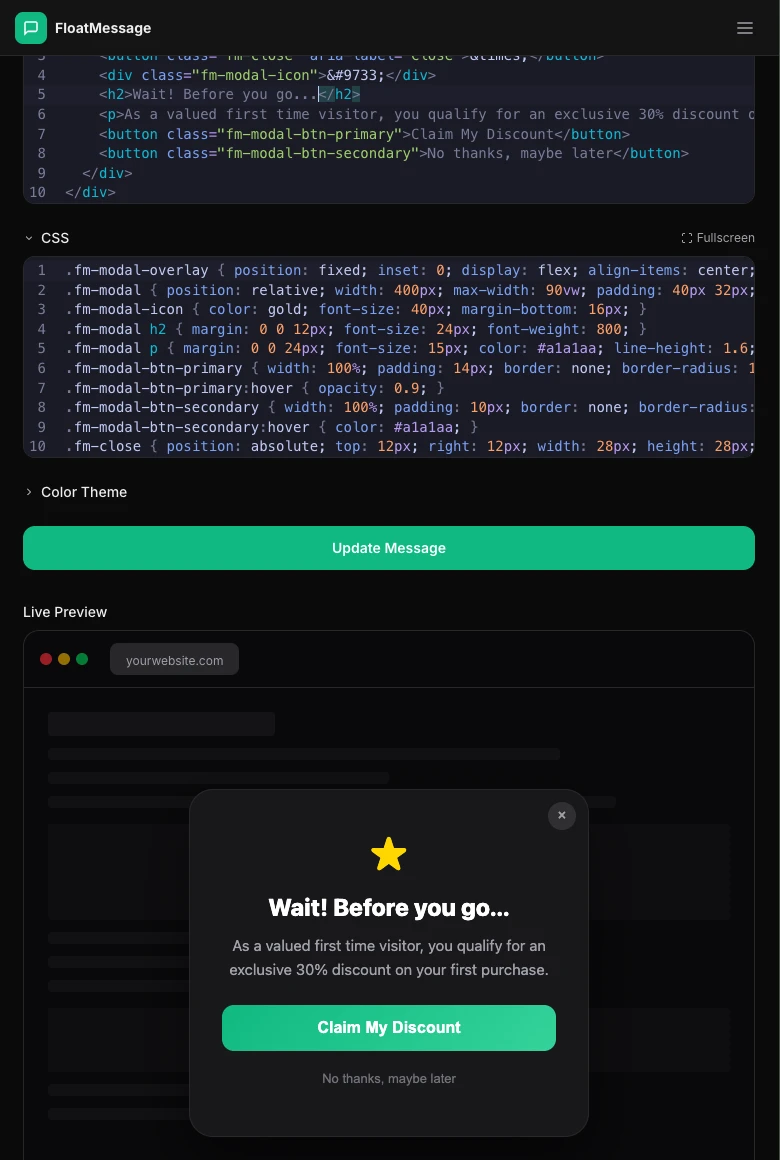
Craft a compelling exit message
In the Content & Usage tab, write copy that gives visitors a reason to stay. Effective exit-intent messages usually include:
- Urgency - "Wait! Before you go..."
- An incentive - discount code, free shipping, free trial
- A clear CTA - "Claim My Discount", "Get the Guide", "Start Free Trial"
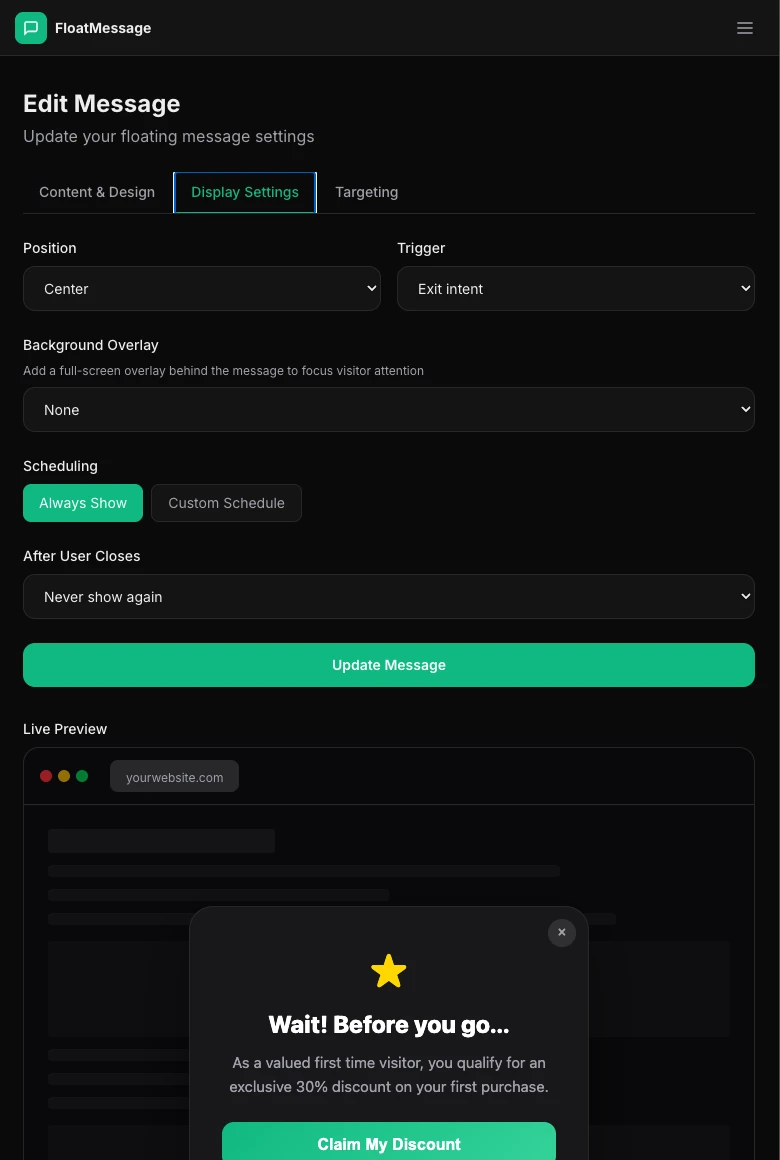
Set the trigger to Exit Intent
Click the Display Settings tab and configure:
- Position — Center for maximum visibility
- Trigger — Exit intent so it only appears when the visitor is about to leave
- Background Overlay - add a Dark overlay to focus attention on the message
- After User Closes — Never show again so it's not annoying on repeat visits
Optimize for conversions
A few tips to get the most out of your exit-intent message:
Target specific pages
Use the Targeting tab to show different exit-intent messages on different pages - a discount on product pages, a lead magnet on blog posts.
Use a background overlay
The Dark or Blur overlay dims the page behind the message, drawing all attention to your offer.
Test different offers
Create multiple exit-intent messages with different incentives and compare click rates in your dashboard analytics to find what converts best.
Save and activate
Click Update Message and make sure it's set to Active. To test it, open your site and move your mouse toward the top of the browser window.