How to Add FloatMessage to Your Webflow Site
This guide shows you how to add FloatMessage to your Webflow site using Webflow's custom code feature. No coding experience needed - just copy, paste, and publish.
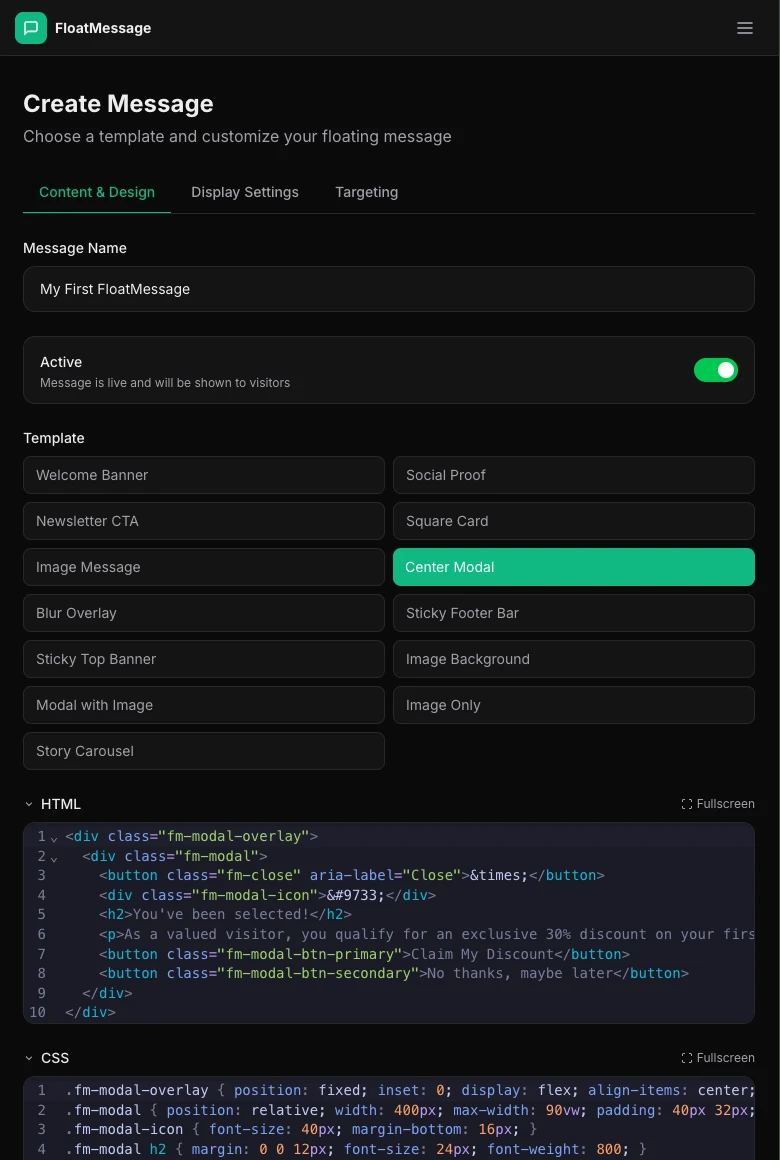
Sign up and create your first message
Go to floatmessage.com/login and sign in with Google. You'll get a 30-day free trial with full access - no credit card required.
In the dashboard, click Messages in the sidebar, then New Message. Pick a template, customize it, and save.
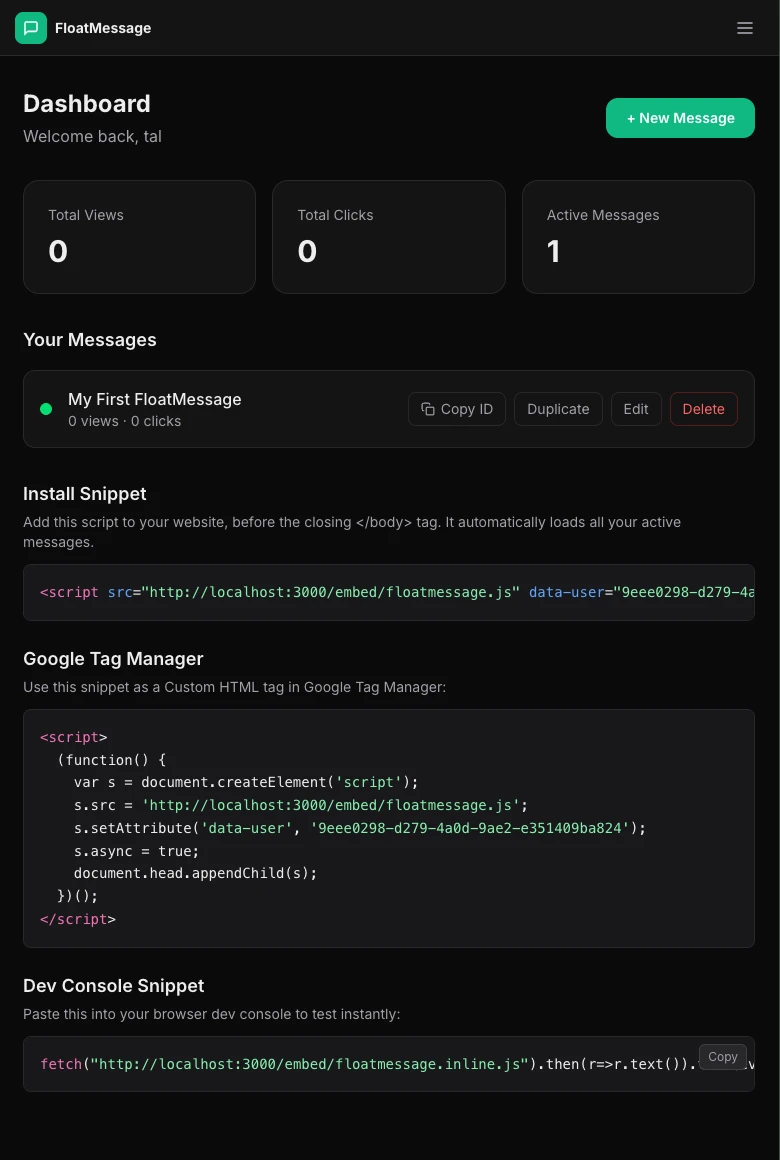
Copy your embed code
Go back to your Dashboard home page. You'll find your embed snippet there. It looks like this:
<script src="https://floatmessage.com/embed/floatmessage.js?userId=YOUR_USER_ID" defer></script>Copy the full snippet - you'll paste it into Webflow in the next step.
Open Webflow custom code settings
Webflow lets you add custom code to the <body> tag of your site through the project settings. Follow Webflow's official guide to get there:
Webflow: Custom Code in Head and Body Tags
Paste the snippet in the body code section
In your Webflow project settings, find the Footer code section (code before </body> tag). Paste your FloatMessage embed snippet there:
<script src="https://floatmessage.com/embed/floatmessage.js?userId=YOUR_USER_ID" defer></script>Click Save Changes.
?userId= loads all your active messages and chat widget automatically. You never need to update the code in Webflow when you create or edit messages - everything is managed from the FloatMessage dashboard. Already installed with data-user? Still works.Publish and verify
Click Publish in Webflow to push your changes live. Open your site in a new tab - you should see your floating message appear based on the trigger you configured.