How to Add FloatMessage via Google Tag Manager
If you already use Google Tag Manager (GTM) to manage scripts on your website, you can add FloatMessage without touching your site's code. This guide walks you through setting up a Custom HTML tag in GTM.
Sign up and create your first message
Go to floatmessage.com/login and sign in with Google. You'll get a 30-day free trial with full access - no credit card required.
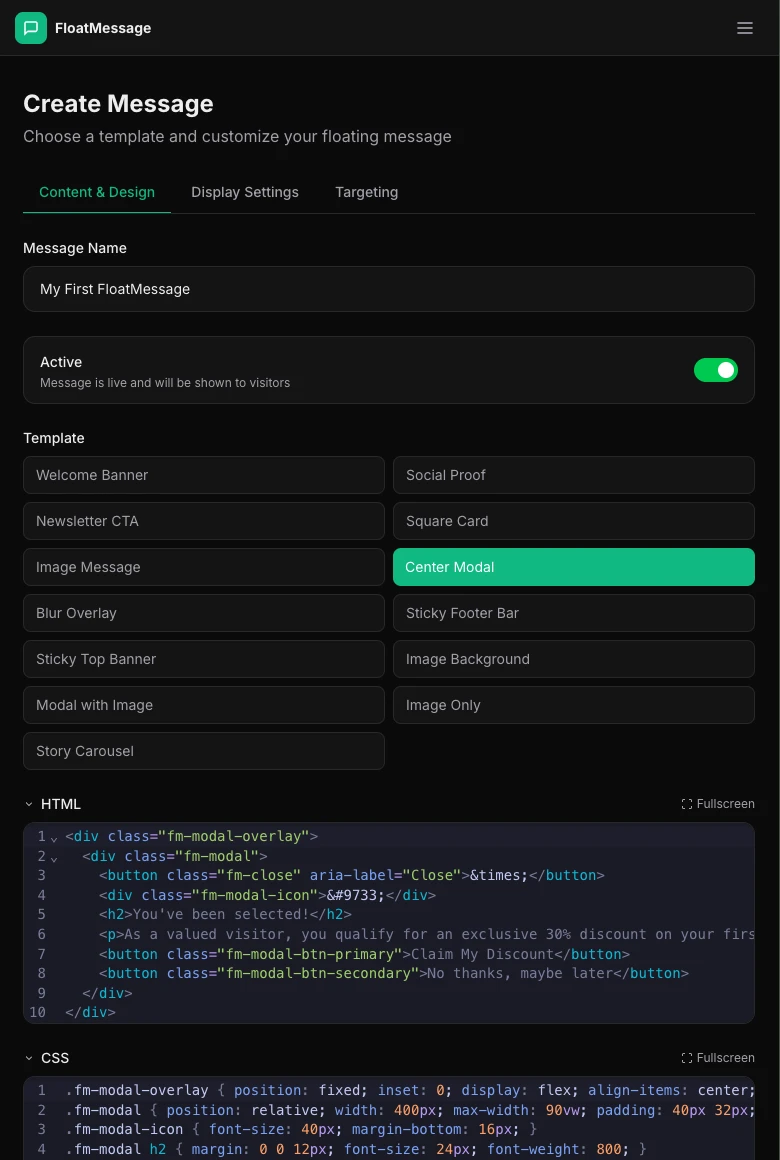
In the dashboard, click Messages in the sidebar, then New Message. Pick a template, customize it, and save.
Copy your embed code
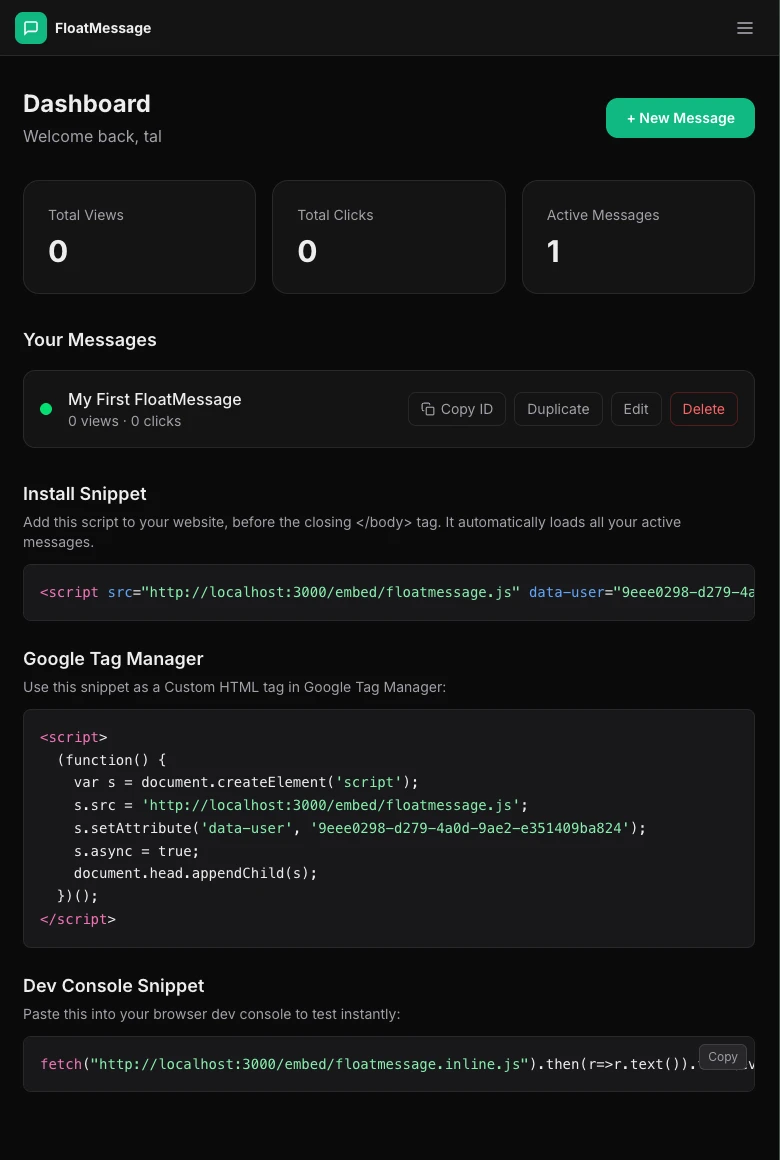
Go back to your Dashboard home page and copy the embed snippet shown there. You'll need this in the next step.
Open Google Tag Manager
Log in to tagmanager.google.com and select the container for the website where you want to add FloatMessage.
Create a new Custom HTML tag
In the left sidebar, click Tags, then click New.
- Name the tag something descriptive, like FloatMessage Embed.
- Click Tag Configuration and choose Custom HTML.
- Paste the FloatMessage embed snippet into the HTML field:
<script src="https://floatmessage.com/embed/floatmessage.js?userId=YOUR_USER_ID" defer></script>YOUR_USER_ID with the actual User ID from your FloatMessage dashboard embed snippet. The embed reads ?userId= from the script src URL when GTM strips data-attributes, so this is a one-line install.Need to scope to a specific domain workspace? Add &domain=site-a.com to the URL. To pin to an exact registered domain row use &domainId=DOMAIN_ID.
Older self-executing snippet (still works)
Before the embed accepted query-string params, the recommended GTM install was a self-executing script that injected the embed with a data-user attribute. That snippet is still supported:
<script>
  (function() {
    var s = document.createElement('script');
    s.src = 'https://floatmessage.com/embed/floatmessage.js';
    s.setAttribute('data-user', 'YOUR_USER_ID');
    s.async = true;
    document.head.appendChild(s);
  })();
</script>Set the trigger to All Pages
Under the tag configuration, click Triggering and select All Pages. This ensures FloatMessage loads on every page of your site.
/pricing or /checkout.Save and publish
Click Save on the tag, then click Submit in the top right corner of GTM. Add a version name like "Added FloatMessage" and click Publish.
Verify on your site
Open your website in a browser. Your floating message should appear based on the trigger you configured in the FloatMessage dashboard (immediately, on scroll, after a delay, or on exit intent).