How to Add FloatMessage to Your WordPress Site
This guide walks you through installing the official FloatMessage WordPress plugin. By the end, you'll have floating messages and optionally live chat running on your WordPress site - no coding required.
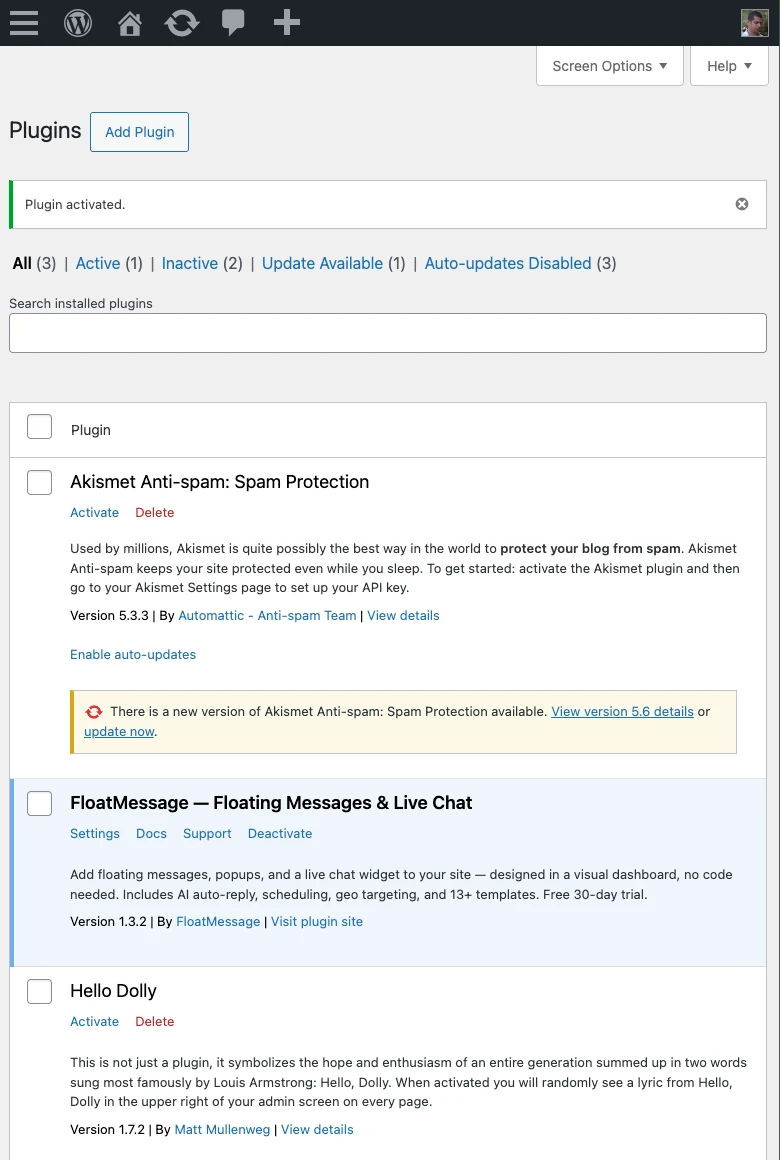
Install the plugin from WordPress.org
In your WordPress admin, go to Plugins → Add New and search for FloatMessage. Click Install Now on the FloatMessage — Live Chat & Floating Messages entry, then Activate.
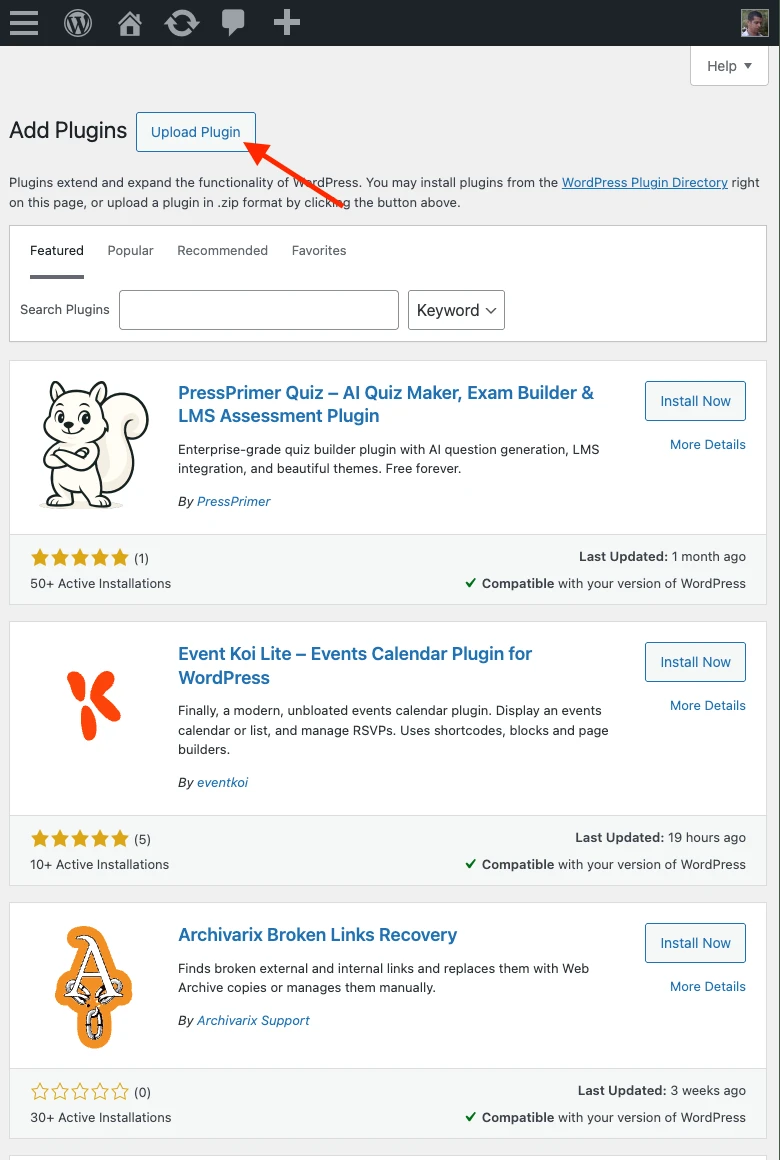
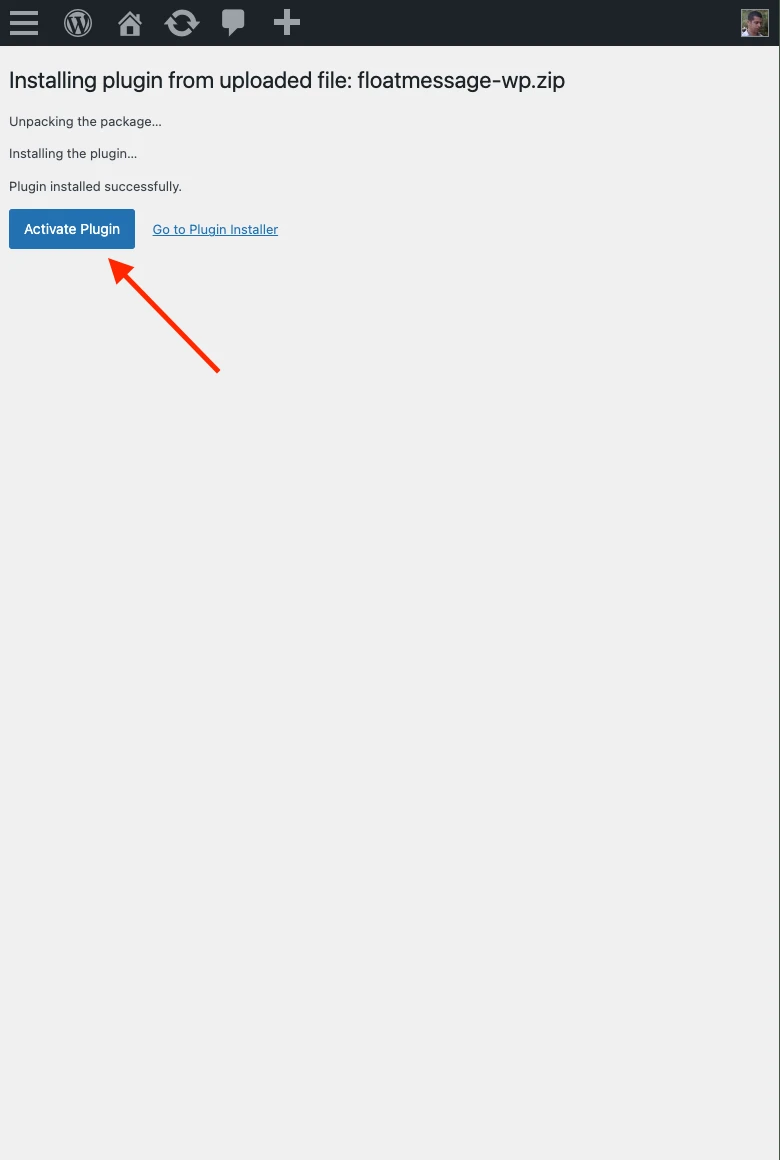
You can also open the plugin page directly at wordpress.org/plugins/floatmessage-live-chat. If your host blocks the plugin directory, grab the ZIP from the WordPress Plugin documentation page and upload it via Plugins → Add New → Upload Plugin.
Connect your FloatMessage account
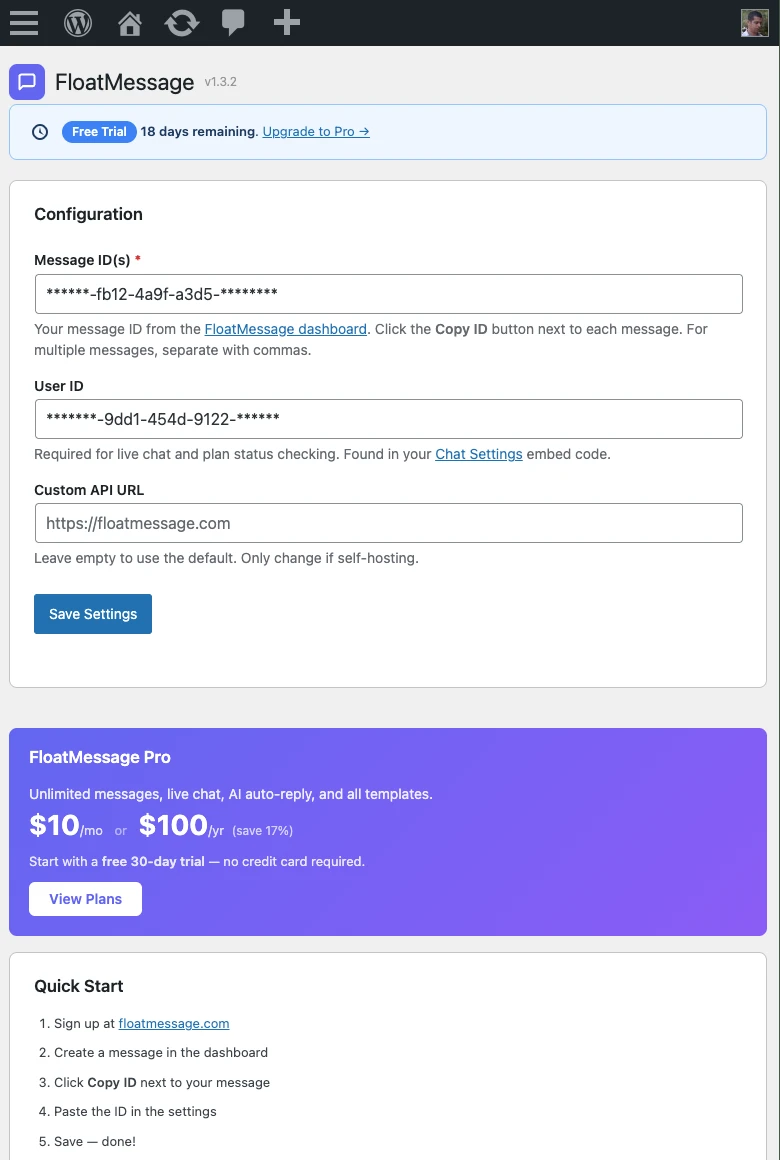
Go to Settings → FloatMessage. You'll see a Connect FloatMessage Account button.
Click it to open FloatMessage in a new tab. Sign up with Google or email/password - you'll get a 30-day free trial with full access, no credit card required.
After signing in, you'll be redirected back to your WordPress settings page automatically. Your User ID is saved and your WordPress domain is added to your FloatMessage account.
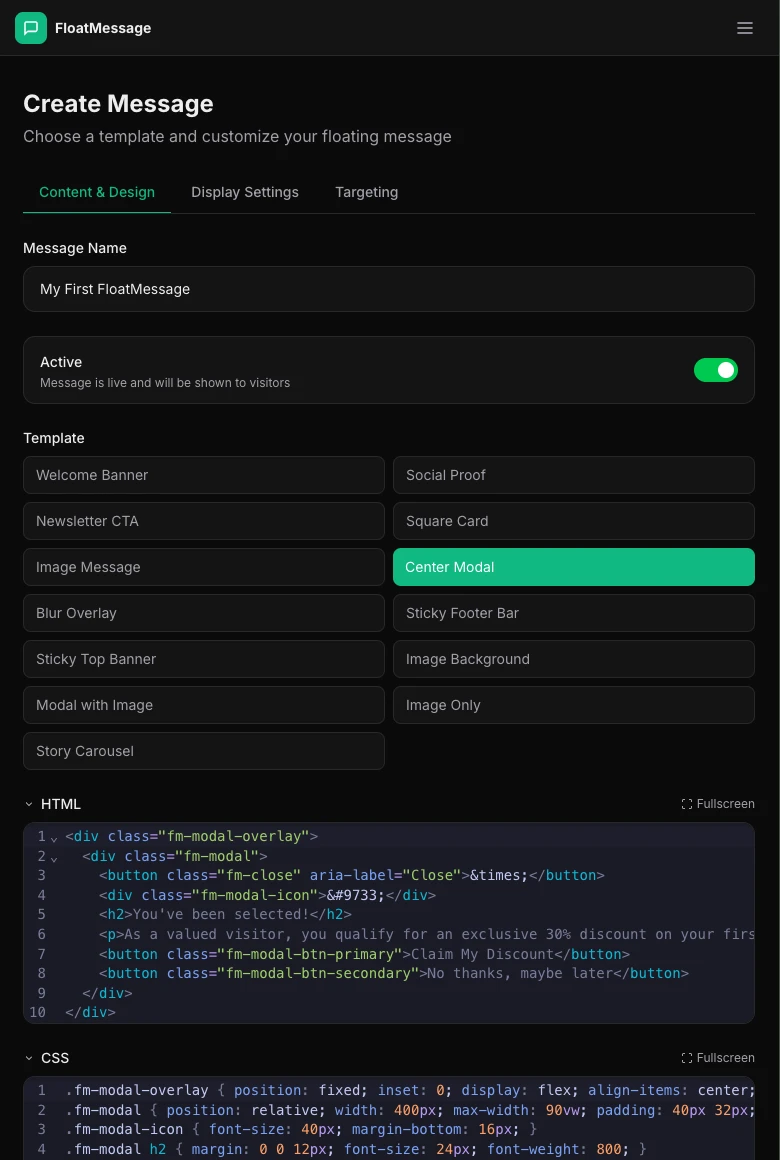
Create your first message
In the FloatMessage dashboard, click Messages in the sidebar, then New Message. Pick a template, customize it, and save.
Your message will automatically appear on your WordPress site - no additional configuration needed in WordPress.
Verify it's working
Open your WordPress site in a new tab. Your floating message should appear based on the trigger you configured. You can also confirm the plugin is active in your Plugins list.