Setting Up Live Chat on Your Website
FloatMessage includes a built-in live chat widget that lets you talk to your website visitors in real time. This guide walks you through enabling chat, customizing the widget, adding it to your site, and managing conversations.
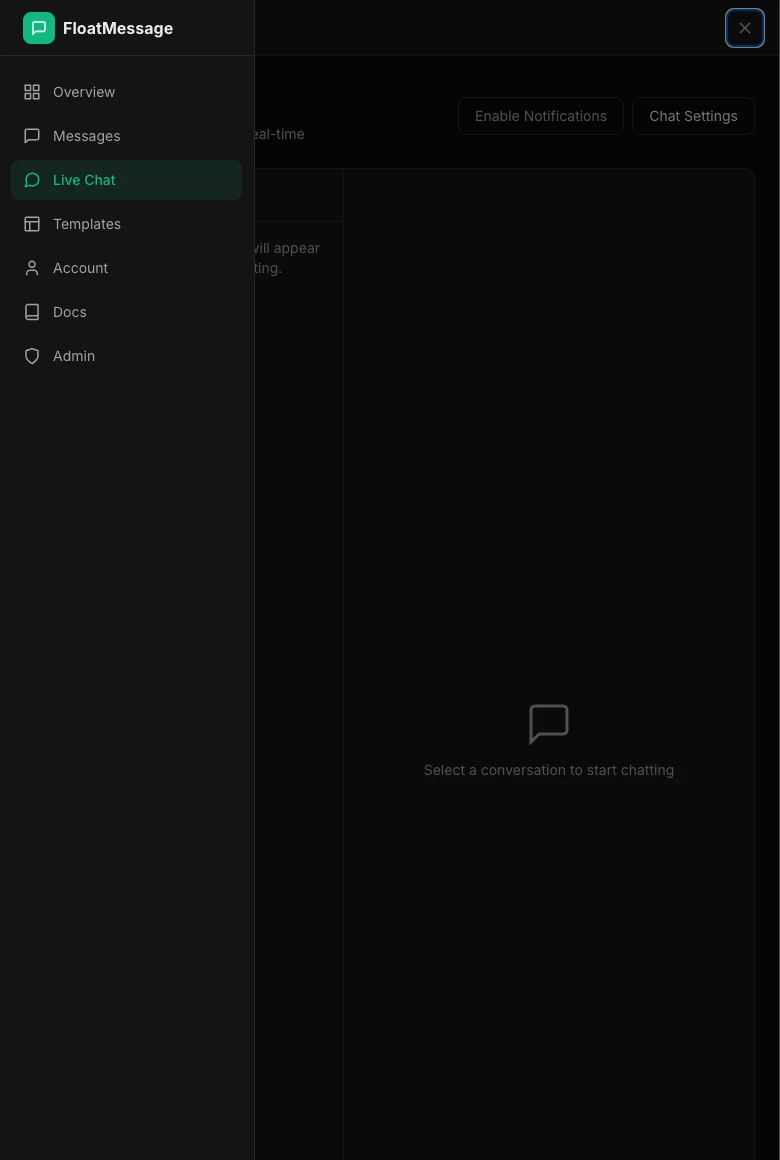
Go to Live Chat in the dashboard
Sign in to your FloatMessage dashboard and click Live Chat in the sidebar. This is where all your visitor conversations will appear.
Open Chat Settings
Click the Chat Settings button at the top of the Live Chat page. This opens the configuration panel where you can enable chat and customize the widget.
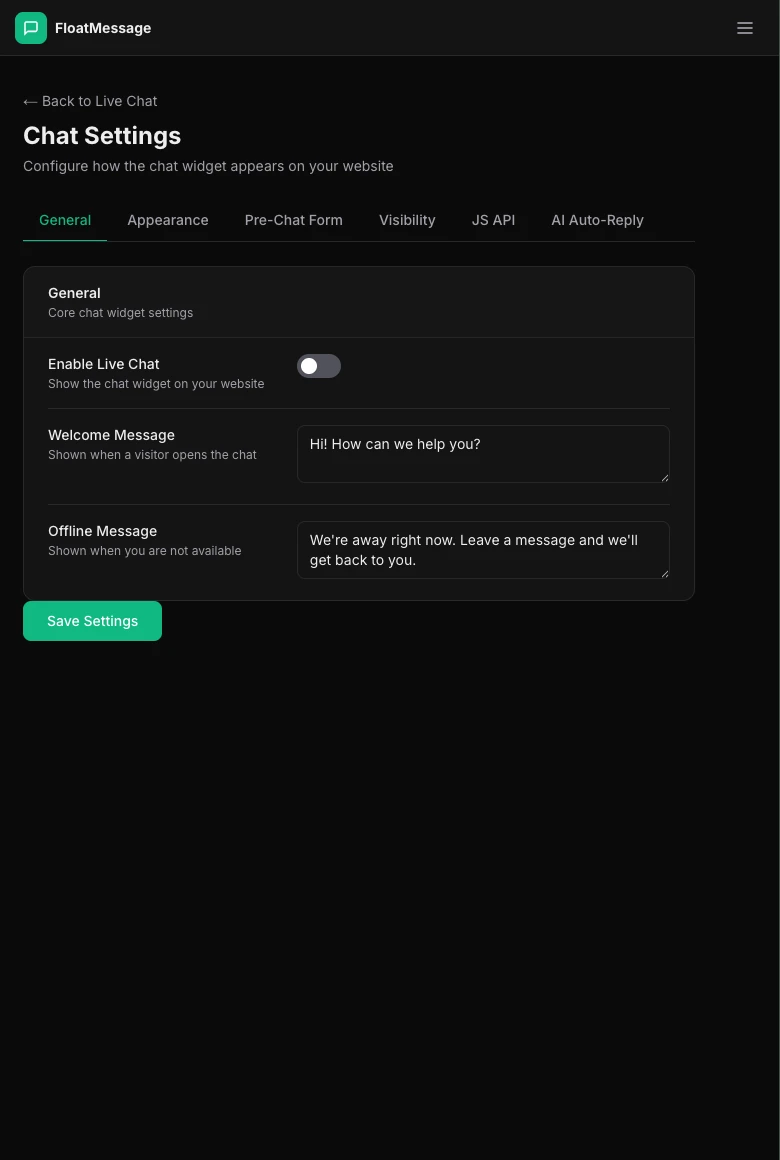
Enable Live Chat and customize
Toggle Enable Live Chat on. You can also customize:
- Welcome Message - the first message visitors see when they open the chat
- Offline Message - shown when you're not available
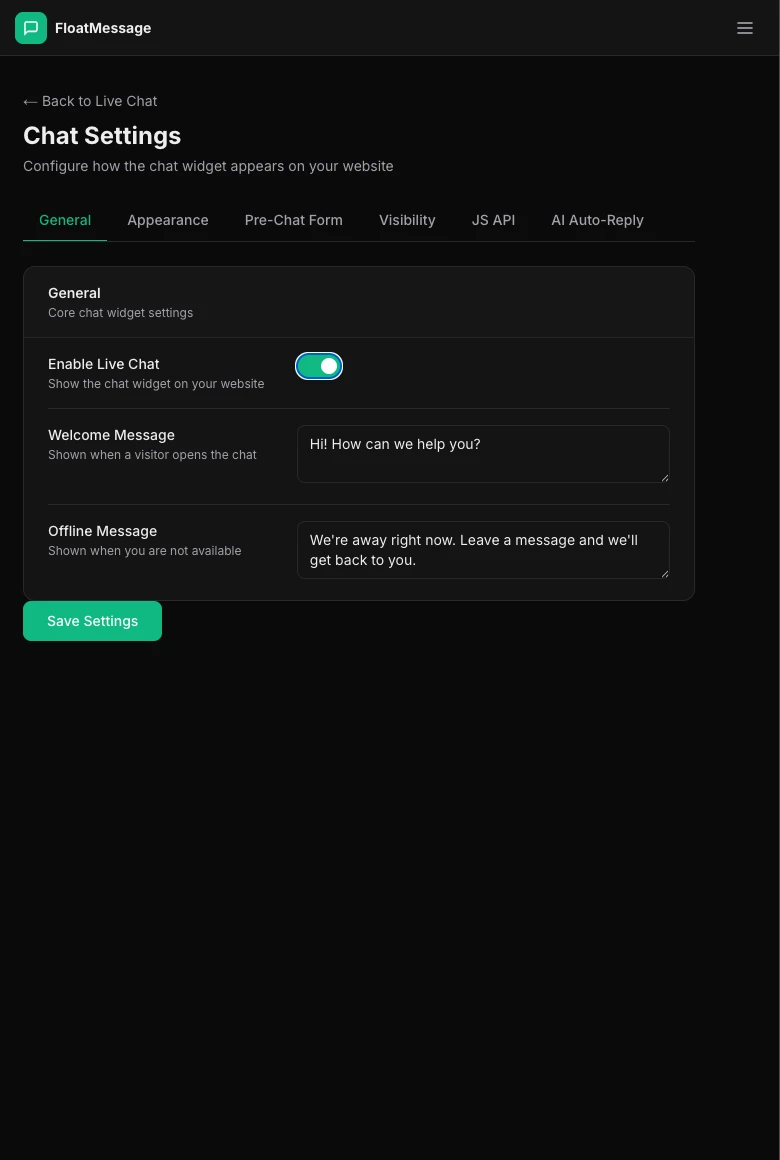
Click Save Settings when you're done.
Add the embed code to your site
If you haven't already, add the FloatMessage embed snippet to your website. Go to your Dashboard home page and copy the snippet. Make sure it includes the ?userId= query parameter - this is required for chat to work.
<script src="https://floatmessage.com/embed/floatmessage.js?userId=YOUR_USER_ID" defer></script>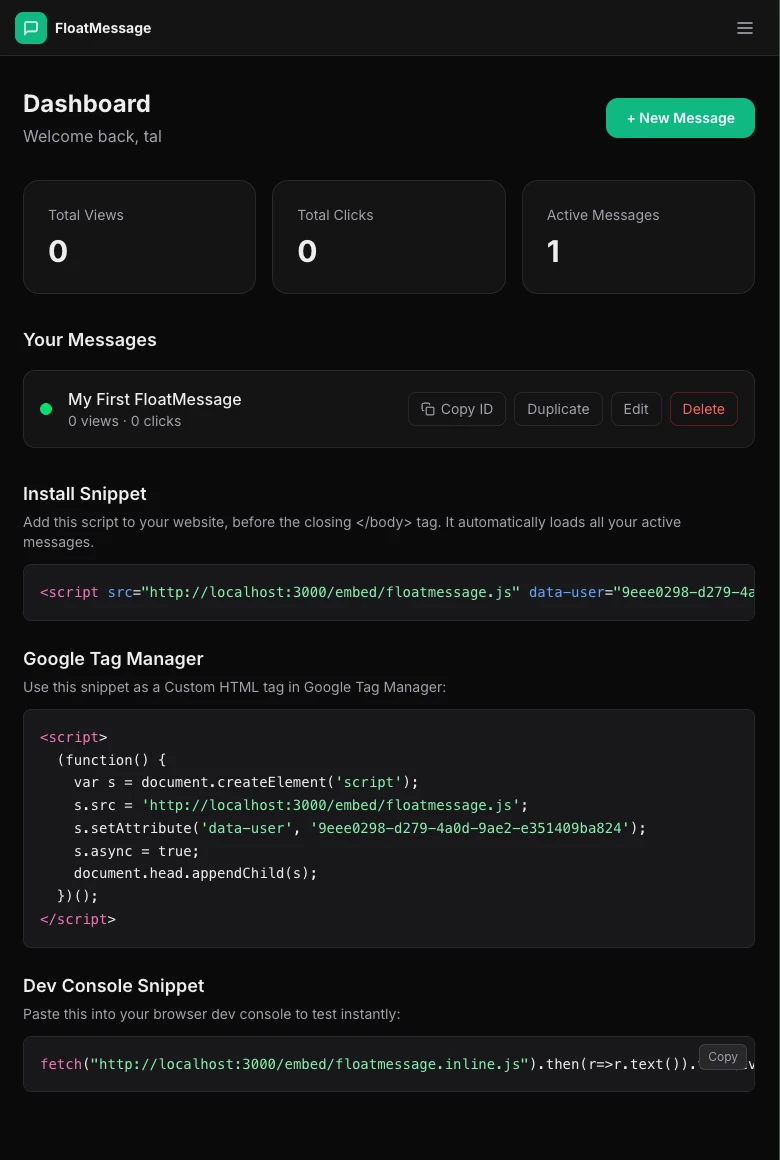
?userId=. The same script also auto-loads any active floating messages in your account, so a single tag is everything you need. Already installed with data-user? Still works.See the chat widget on your site
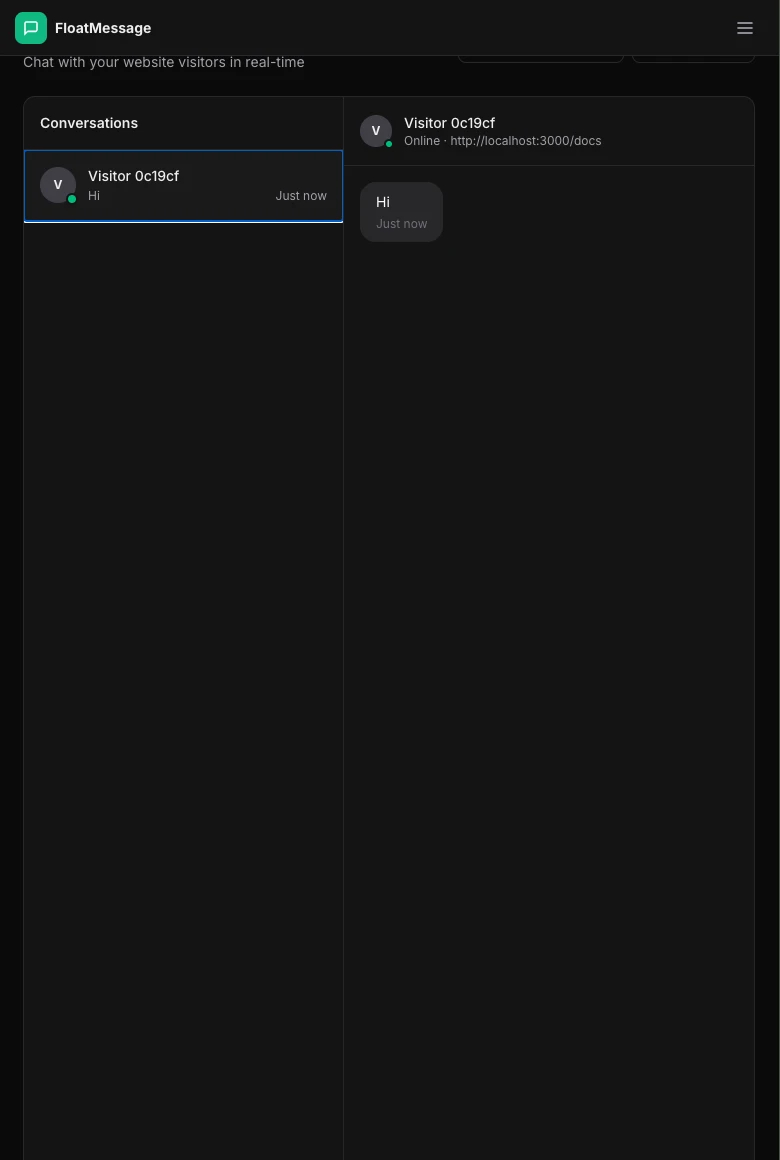
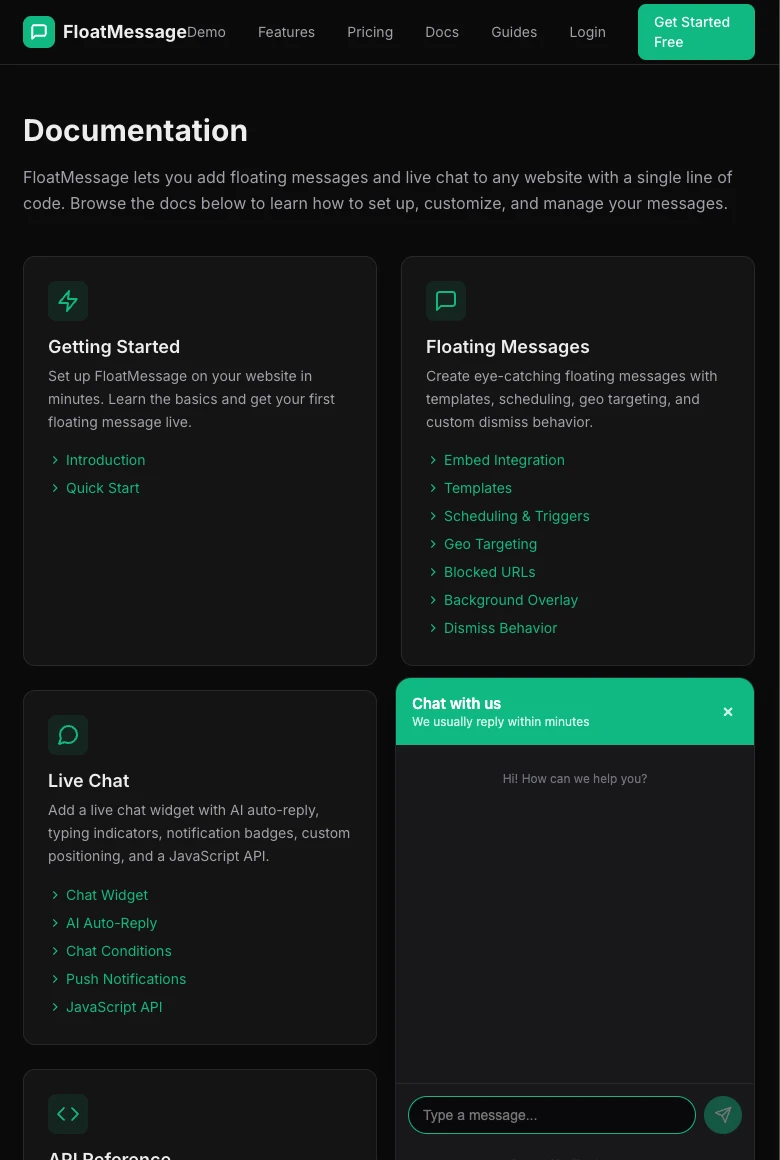
Open your website in a new tab. You'll see the chat widget appear in the bottom corner. Visitors can click it to start a conversation.
Reply to visitors from the dashboard
When a visitor sends a message, it appears in the Live Chat section of your dashboard. Click a conversation to view the messages and reply in real time.