How to Add FloatMessage to Your Wix Website
This guide shows you how to add FloatMessage to your Wix site using Wix's custom code feature. No coding experience needed - just copy, paste, and publish.
Sign up and create your first message
Go to floatmessage.com/login and sign in with Google. You'll get a 30-day free trial with full access - no credit card required.
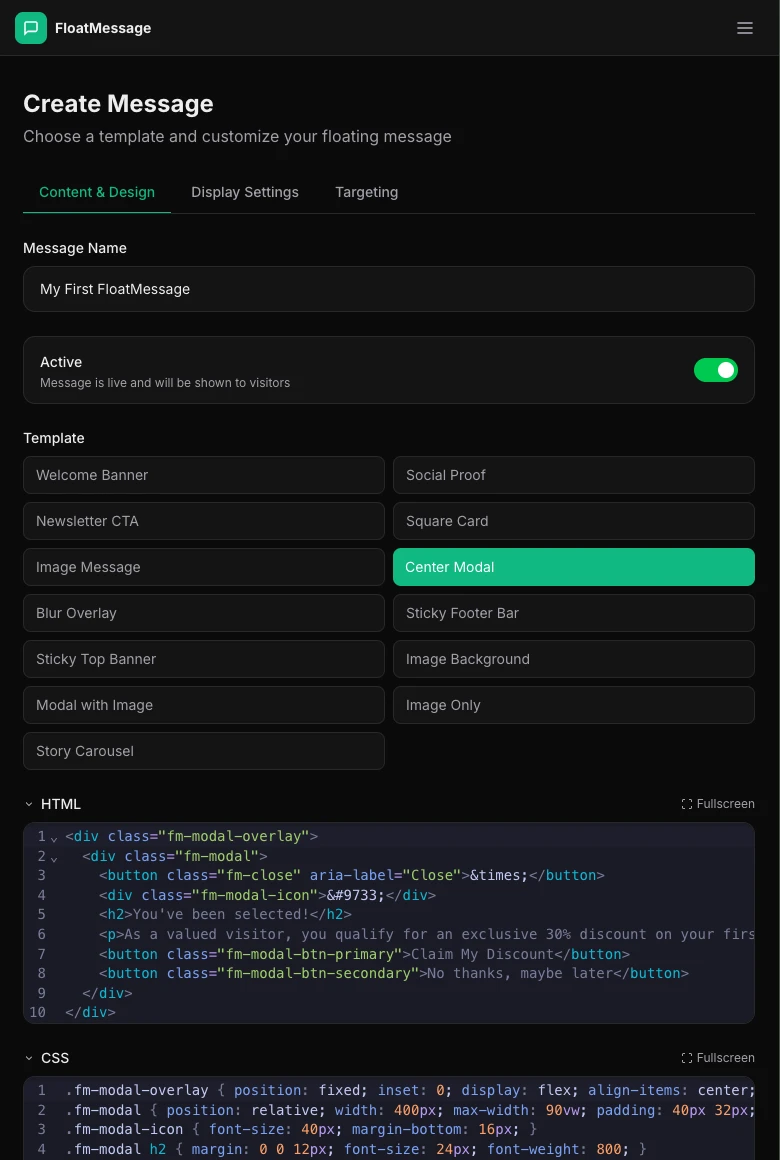
In the dashboard, click Messages in the sidebar, then New Message. Pick a template, customize it, and save.
Copy your embed code
Go back to your Dashboard home page. You'll find your embed snippet there. It looks like this:
<script src="https://floatmessage.com/embed/floatmessage.js?userId=YOUR_USER_ID" defer></script>Copy the full snippet - you'll paste it into Wix in the next step.
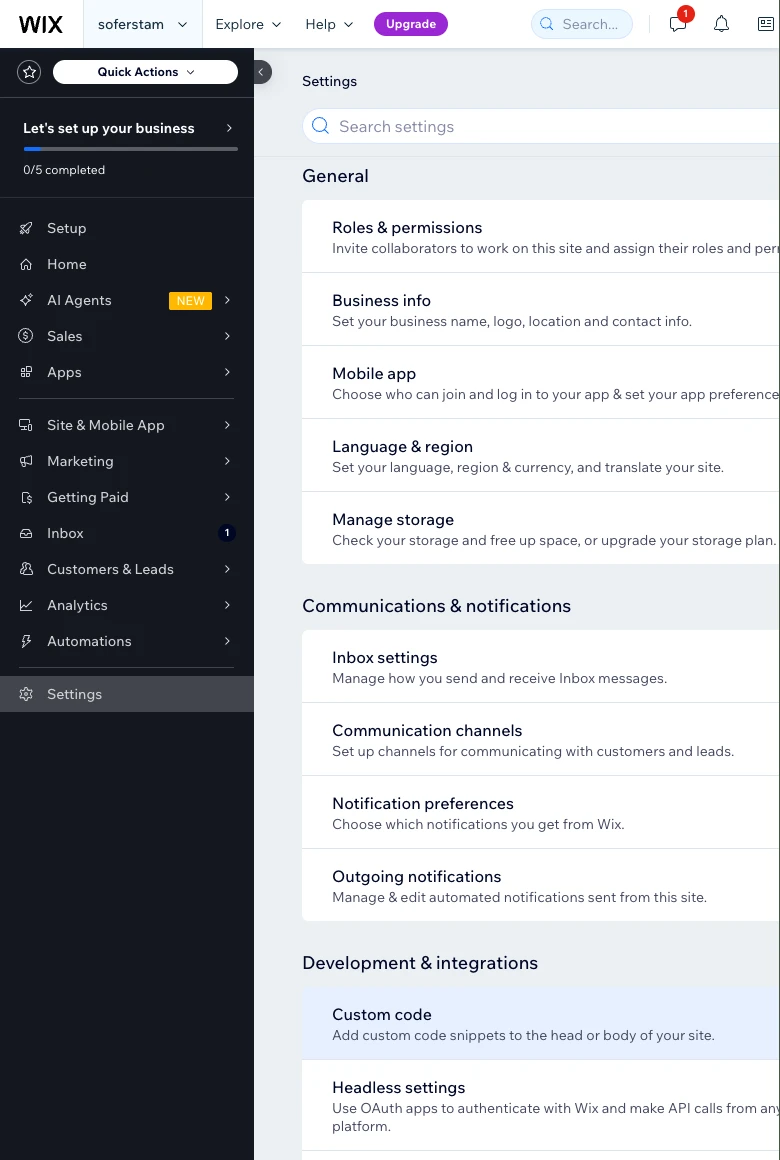
Add custom code in Wix
Wix lets you add custom code snippets to your site through the dashboard. Follow Wix's official guide to add a custom element:
Wix Editor: Adding Custom Code to Your Site
Paste the FloatMessage snippet
In the custom code dialog, paste the embed snippet you copied in step 2:
<script src="https://floatmessage.com/embed/floatmessage.js?userId=YOUR_USER_ID" defer></script>Give it a name like FloatMessage so you can identify it later, then click Apply.
?userId= loads all your active messages and chat widget automatically. You never need to update the code in Wix when you create or edit messages - everything is managed from the FloatMessage dashboard. This URL format works on Wix because Wix preserves query parameters on script src attributes (older data-* installs are still supported by the runtime, but Wix custom code can strip data attributes from injected scripts).Publish and verify
Click Publish in the Wix editor to make your changes live. Open your site in a new tab - you should see your floating message appear based on the trigger you configured.