Schedule Messages for Sales & Promotions
Running a Black Friday sale? Launching a weekend promotion? FloatMessage lets you schedule floating messages to appear only during specific dates, days, and times - so you can set it up in advance and let it run automatically.
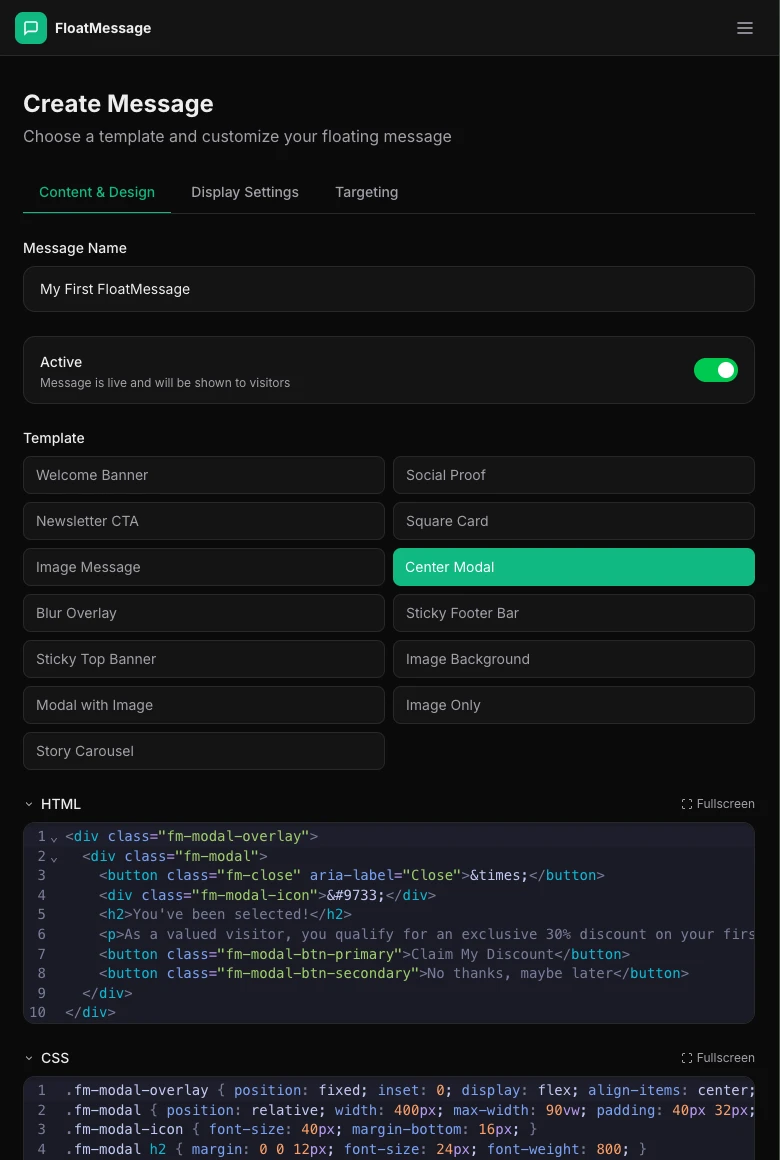
Create your promotional message
In your FloatMessage dashboard, click New Message and design your promotional message - highlight the offer, add urgency, and include a strong CTA.
Enable scheduling in Display Settings
Click the Display Settings tab and toggle Enable Schedule on. You'll see three scheduling options:
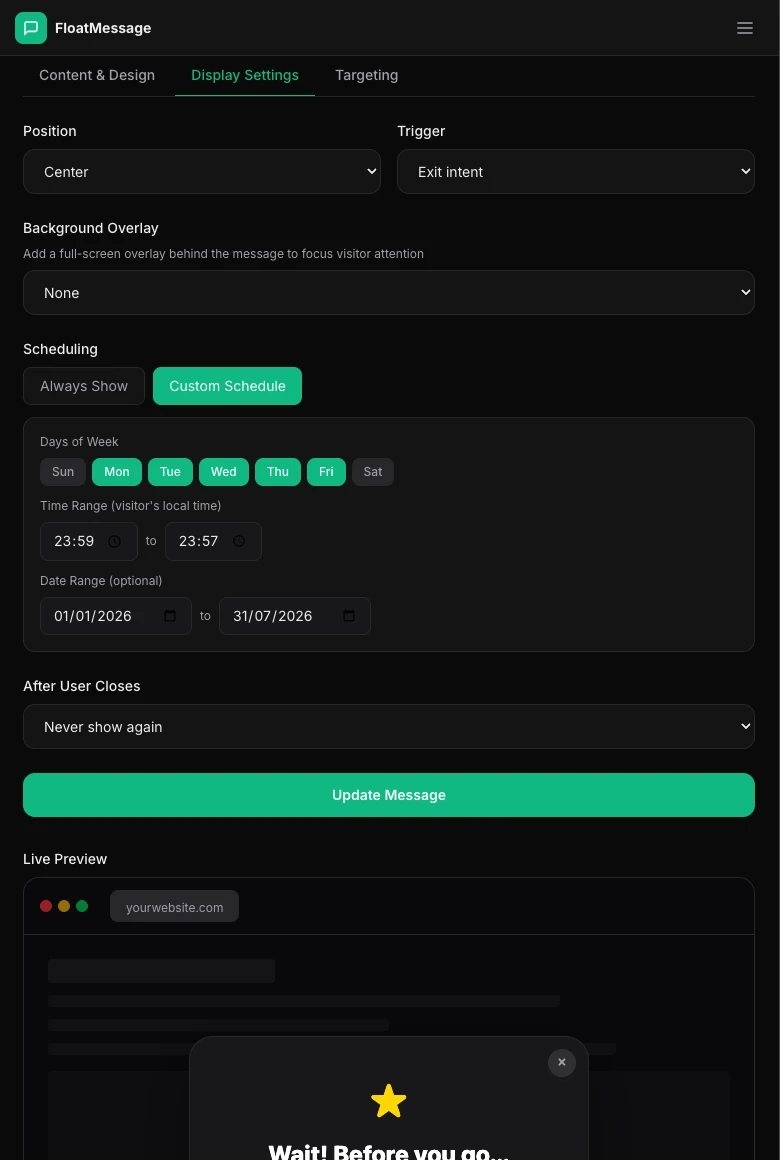
Set your schedule
Configure the scheduling options to match your promotion:
Days of Week
Select which days the message should appear. For a weekend sale, pick Saturday and Sunday. For everyday promotions, select all days.
Time of Day
Set a time window using 24-hour format. For example, 09:00 – 17:00 for business hours only. Overnight ranges like 22:00 – 06:00 are also supported.
Date Range
Set the start and end dates for your promotion. The message will only appear within this range (both dates are inclusive). Perfect for limited-time sales.
Example: Black Friday sale
Here's how you'd set up a Black Friday promotion:
The message automatically starts on Nov 25 and stops on Nov 30 — no manual intervention needed.
Save and activate
Click Update Message and make sure it's set to Active. The message will automatically appear and disappear based on your schedule.